 When we bought the house last year, it came with two apple trees. I'd let them grow in their usual way all year so that I could see them as they were. And what they were was leafy, full of little branches that made it look like it was having a bad-hair day. But most frustratingly, in the autumn, when the tree was full of apples, the reddest and juiciest looking ones were at the end of the highest branches, and hopelessly out of reach.
 This year is going to be different. I'd learnt some about gardening and most importantly had the expert help of friend Belinda, the super-duper master gardener.
 I had learnt that a shaggy tree full of skyward shooting branches was not the best thing for a tree; that where the bark was scarred and gueyly damp
  was where there was damage and infection and needed to amputated like a gangrenous limb; that a tree so laden with that multitude of apples had to work very, very hard to churn out the harvest, which also means that quality would be sacrificed for quantity. And if I'm brutally honest, last years apples was a bit lacking in, how can I put it? taste. This year, it's going to be different.
Armed with newly sharpened and freshly sanitised tools, plus two ladders, we were at it with vigor. Belinda giving me tips on which branch to cut (the ones that were too small to support the many spurs at its tip, where the apples would eventually form, any shoots growing downward or inward) and were was the best place to cut it.
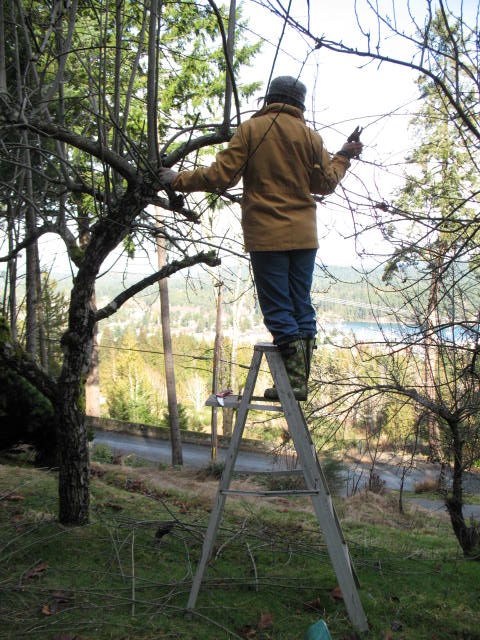 Three and a half frozen hours later, my initial hesitant nips at weedy shoots evolved into sawing off great chunk of branches and my previously afro-headed apple tree looked buzz-cut botak, and very sad.
Despite it's forlorn appearance, I know that it'll be healthier, will look better (in a couple of years I'm told), it'll bear better tasting fruit and most of all, I'll be able to reach the yummy apples.
But now that I think about it, so will the deer! Hurrumph!!


